Class snapshot · Community Report · Last Verified 2026-08-08
Mistfall Hunter Blackarrow Class Guide
The Blackarrow is a precision ranged class that excels at safe damage and strong extraction control.
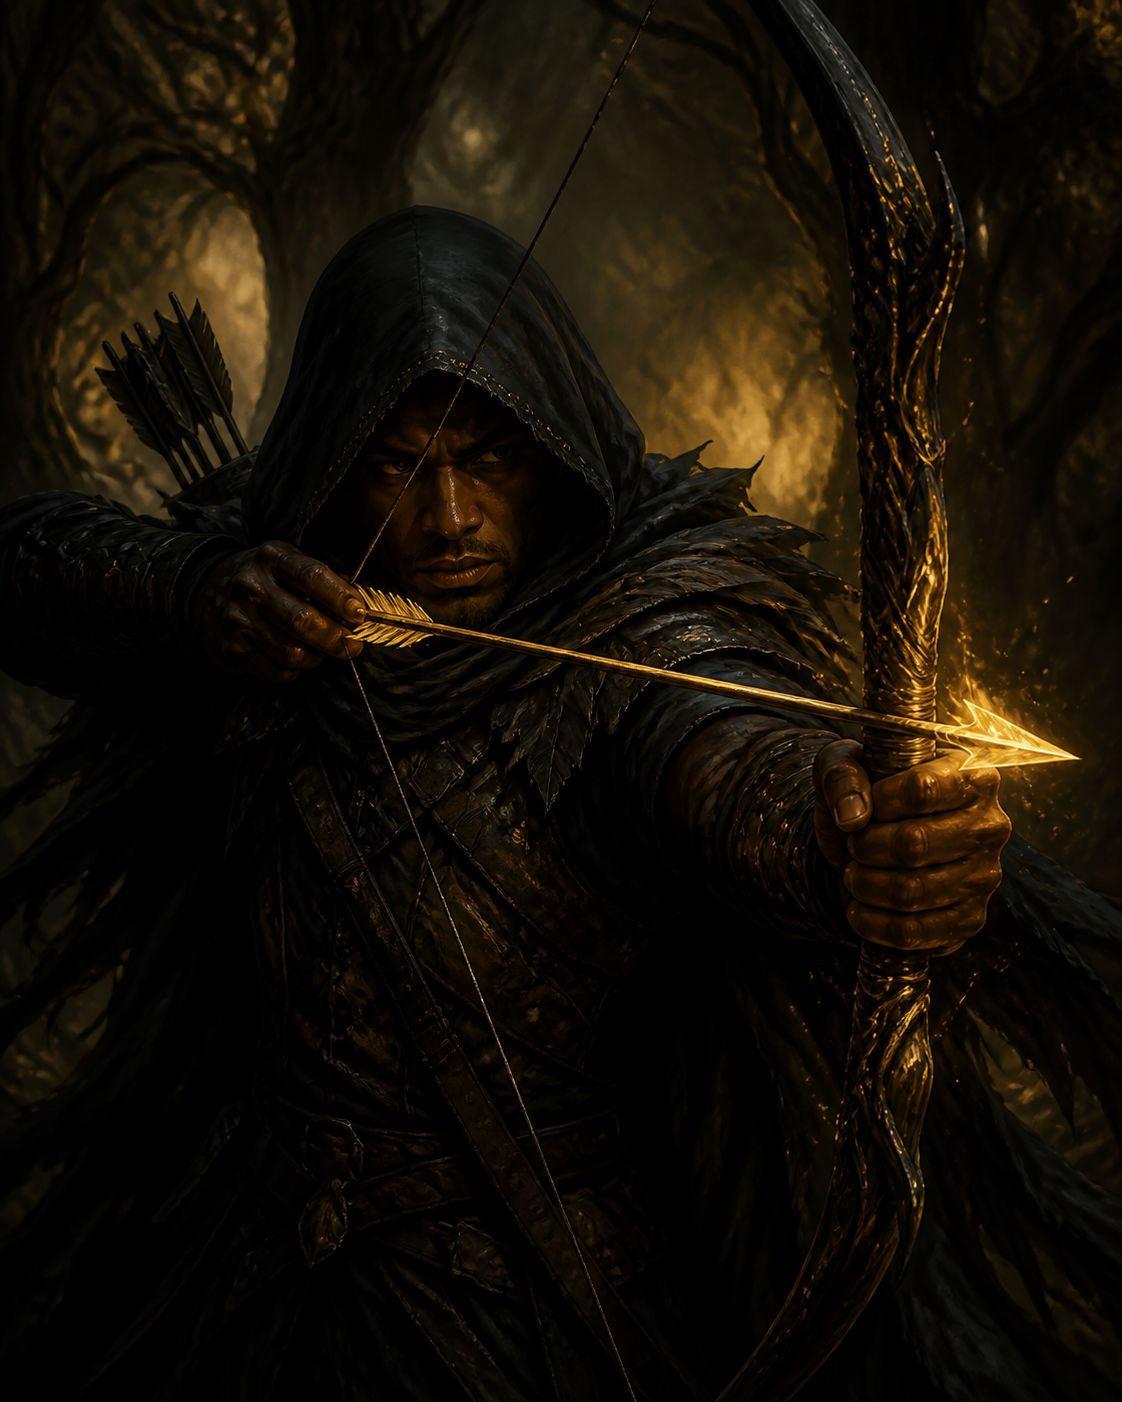
Class snapshot
Pick a role, then test a build direction
- Role and range
- Strongest queue context
- First build path
What the Blackarrow Does Best
The Blackarrow is the class for players who believe the best fight is the one they win without getting touched. It sits in the ranged role with a precision damage identity, which means every shot counts and every position is chosen for safety first. In the extraction format of Mistfall Hunter, where a single death costs you the run's loot, the Blackarrow's ability to contribute from range is quietly one of the strongest defensive tools in the game.
- Role: ranged — precision damage
- Stances: Assault and Guard, affecting the pressure cycle
- Best at: safe damage, extraction control, punishing open ground
- Weakest at: burst windows, close-quarters, forcing a fight alone
- Tier context: see Solo, Trio, Duo and Beginner tier lists for rankings
Read full tactical context
Where the Sorcerer wins by bursting down a target fast, the Blackarrow wins by applying constant, accurate pressure that forces the enemy to respect your sightlines. You do not need to delete someone in one window; you need to make every piece of open ground they cross expensive. Over the course of a map like Brandrgarde, that pressure decides how the enemy can move, and movement decisions are what win extraction games.
The trade-off is the mirror image of the Sorcerer's: the Blackarrow trades some burst ceiling for safety and consistency. Your damage comes in a steady stream rather than a spike, which means fights take a little longer but your mistakes cost less. For players who like to read fights from the back line and punish enemy mistakes, this is the class that rewards patience.
Blackarrow Strengths and Weaknesses
The Blackarrow's main strength is that it can do damage without committing. In a Trio fight, the Blackarrow stands behind the Mercenary or Withered Knight, fires through the gap, and keeps the pressure up while the frontline holds. That sustained output is why the class is so reliable in squad comps — it never has a moment where it is useless.
Read full tactical context
Its extraction control is the second pillar. The Blackarrow can lock down an extraction point, punish a carrier crossing open ground, and deny the enemy's escape route. In a game about leaving with loot, the ability to make the exit dangerous for the other team is enormous. The Solo tier list rewards this, because a ranged class that can control its own extract is a class that survives.
The weaknesses are burst damage and close quarters. The Blackarrow does not delete targets the way a Sorcerer does, so you cannot rely on a single window to end a fight. And when a Shadowstrix or Mercenary closes the distance, your ranged advantage evaporates and you become the class most reliant on escape tools. Building those tools into the loadout is not optional.
| Aspect | Rating | Why |
|---|---|---|
| Sustained damage | High | Constant pressure from safe range |
| Burst damage | Medium | Steady rather than spikey output |
| Durability | Medium | Safe at range, fragile up close |
| Extraction control | High | Punishes open ground and exits |
| Solo extraction | High | Self-sufficient ranged survival |
| Trio value | High | Reliable back-line damage behind frontline |
How to Play the Blackarrow in Extracts
The Blackarrow's first rule is position. Every shot you take reveals where you are, so every position needs an exit. On Hallowgrove, take high-ground or long-sightline angles that let you see the POI without being seen first; on Brandrgarde, use the terrain to create lanes the enemy must cross. The Interactive Map helps you plan those lanes before the run starts.
- Choose every position with an exit in mind
- Use pressure to funnel the enemy, not just to deal damage
- Save high-damage shots for carriers and supports
- Control the extraction point in the final phase
- Let the frontline take the space while you take the angles
Read full tactical context
The second rule is pressure economy. You do not need to hit every shot — you need to make the enemy behave as if you will. A Blackarrow who fires at a doorway makes the doorway a problem even on a miss. Use that threat to funnel the enemy into the kill zones your squad has set, and save your highest-damage shots for targets that matter, like the enemy carrier or the support keeping them alive.
The third rule is extraction discipline. As the class that controls the exit, your job in the final phase of a run is to make the extraction point safe for your team. That means watching the approach lanes, denying the last-second third party, and being ready to punish anyone who tries to steal your squad's escape.
Common Mistakes New Blackarrow Players Make
The most common mistake is standing still. Because the Blackarrow wants safe positions, new players plant themselves on a good angle and never move, which means the moment the enemy figures out where they are, they are free damage. Good Blackarrow play is mobile between shots — take the angle, fire, relocate, repeat.
- Standing still on one angle until found
- Chasing kills through open ground
- Never swapping stances
- Wasting high-damage shots on low-value targets
- Forgetting the exit when the angle turns bad
Read full tactical context
The second mistake is over-committing to the kill. When a target is low, the temptation is to chase through open ground to finish it. That chase is exactly where the enemy's Mercenary or Shadowstrix is waiting. Let the low target retreat, take the space it gave up, and win the position instead of risking the kill.
The third mistake is ignoring the stance swap. The Blackarrow's Assault and Guard stances change how aggressive the pressure cycle can be, and players who never swap play half the kit. The Dual Weapon Stances guide covers when each stance fits; in practice, swap to Guard when the squad is retreating or holding, and back to Assault when the pressure window opens.
Blackarrow Matchups You Need to Know
Against the Mercenary, the Blackarrow has the range advantage and the fight is about keeping distance. The Mercenary wants to close; your job is to make the approach so expensive that it never happens. Kite through terrain, punish every step, and if the gap closes, use your escape tools before the frontline bruiser reaches you.
Read full tactical context
Against the Sorcerer, this is a duel of windows. The Sorcerer's burst beats your sustained damage in a straight trade, so you win by refusing the trade: stay at the edge of the Sorcerer's effective range, force it to reposition, and punish the moments its cooldowns are down. Patience wins this matchup.
Against the Shadowstrix, the fight is about awareness. The Shadowstrix wants to flank while you are focused elsewhere. Keep a teammate near your flank, hold your highest-damage shots for the moment the Shadowstrix commits, and do not let it close the gap without paying for every meter.
| Enemy Class | Solo Read | Trio Read | Key Rule |
|---|---|---|---|
| Mercenary | Favorable at range | Favorable with space | Kite and punish the approach |
| Sorcerer | Even, window-based | Favorable with focus | Refuse the trade, punish downtime |
| Shadowstrix | Unfavorable | Even with peel | Watch the flank, punish the commit |
| Seer | Favorable | Favorable with focus | Out-sustain the sustainer |
| Withered Knight | Even, slow grind | Favorable with space | Burn it down from range |
| Blackarrow | Mirror match | Mirror match | Better angle wins |
Gearing the Blackarrow Without Overpaying
Blackarrow gear is about precision and range, but the budget build needs escape tools more than pure damage. The Loot Finder shows every path to ranged weapons and precision gems — many starter pieces come from chests and NPC vendors, and checking those paths before hitting the auction house saves a lot of gold.
- Check the Loot Finder for every acquisition path first
- Escape tools are part of the loadout, not an afterthought
- Farm starter kit, then fund rare pieces gradually
- Lock the build in the Build Planner before shopping
- Never buy the same slot twice
Read full tactical context
The Gold Farming guide and the Auction House guide cover the funding side: farm a starter kit, run efficient routes, then buy the rare pieces when they are the last slot left. Flipping volatile items can accelerate the process, but only after you understand the fees and price trends.
The Build Planner is the right place to decide the exact loadout before spending anything. Know which weapon, armor and gem slots the build needs, shop for those slots only, and never impulse-buy a category you already own. The Blackarrow's strength is consistency — your shopping should be consistent too.
Blackarrow Progression Roadmap
Phase one for a new Blackarrow is learning to survive while contributing. Take a budget loadout into Hallowgrove, practice taking safe angles and relocating between shots, and use the Extraction Checklist to build the habit of leaving with loot. The early metric is extraction rate, not damage.
Read full tactical context
Phase two is pressure economy. Learn to read which shots matter, practice funnelling the enemy with your threat instead of your hits, and test matchups in the Matchup Matrix. This is when the Blackarrow starts controlling fights rather than just participating in them.
Phase three is squad integration. A Blackarrow behind a good frontline becomes the backbone of a Trio's damage. Use the Squad Comp Builder to build a shell that keeps you protected, then run it and adjust the angles based on what the fights actually demand.
Finally, optimize the loadout for your comp with the Blackarrow Build Guide, the Loot Finder, and the funding guides. By the end, you are not the class that hides at the back — you are the class that decides where the enemy can and cannot walk.
Blackarrow Route Planning on Both Maps
The Blackarrow is a route-planning class. Because you win with angles rather than brawls, the route you take into a POI decides how much of your kit you get to use. On Hallowgrove, plan lanes that give you sightlines on the loot room without crossing the open center; on Brandrgarde, use the long sightlines to farm pressure while your squad advances under the cover you create. The Interactive Map layers are built for exactly this planning: mark the POI you want, check the extraction lanes, and pick the approach that keeps you on the outside of the fight rather than in it.
- Plan sightline lanes before the run, not during it
- Approach from a second angle whenever possible
- Use map layers to check POIs and extraction lanes
- Master one route per map, then expand
- Log the positions that got you caught and avoid them
Read full tactical context
A Blackarrow that arrives at the fight from a second angle is worth two Blackarrows that walk in through the same door. Practice one route per map until it is automatic, then add a second. Route discipline is what lets you focus on shot discipline once the fight starts — and shot discipline is the Blackarrow's whole identity. Keep a mental map of the spots where you have been spotted before and avoid them next run; experienced players log the positions that got them caught.
When the enemy has a Blackarrow of their own, the route game becomes a mirror. Whoever gets the better angle first usually wins the exchange, so the approach matters more than the aim. If you are getting out-angled, change your route entirely rather than fighting for the same spot — a new angle resets the mirror in your favor.
Blackarrow Loadout Priorities Explained
Every Blackarrow loadout answers three questions: how do I deal damage at range, how do I escape when the gap closes, and how do I keep the pressure up during a long extract. New players usually answer only the first question and then wonder why the class feels fragile. The weapon and precision gems handle the damage; the armor and utility slots are what let you survive the mistakes that every run throws at you.
- Loadout = damage package + escape package
- Build the floor (escape) before the ceiling (damage)
- Use the Build Planner to see trade-offs before spending
- Every damage piece costs survivability — keep the ratio honest
Read full tactical context
Think of the loadout as a budget with a floor and a ceiling. The floor is the escape package — the movement tools and defensive pieces that keep you alive when the plan breaks. The ceiling is the damage package you build on top of it. Skip the floor and the ceiling does not matter, because you will not be alive to use it. The Build Planner makes this trade-off visible before you spend any gold.
As you upgrade, keep the ratio honest. Every time you add a damage piece, ask what it cost you in survivability. A Blackarrow with slightly less damage but a reliable escape extracts more loot in a week than a glass cannon that dies in every contested room.
Frequently asked questions
What is the Blackarrow class about?
The Blackarrow is a precision ranged class that excels at safe damage and strong extraction control in Mistfall Hunter.
Is the Blackarrow good for solo play?
Yes — ranged damage and escape tools make Blackarrow a strong solo extractor. See the Solo Tier List for its current ranking.
What stance should a Blackarrow use?
This page does not confirm a current route-specific answer for “What stance should a Blackarrow use?”. Check the game or current official update notes before relying on a specific detail.
Where can I find Blackarrow builds?
See the Mistfall Hunter Blackarrow Build Guide for a precision loadout, or check the Loot Finder for its best gear drops.