Build snapshot · Community Report · Last Verified 2026-08-08
Mistfall Hunter Blackarrow Build Guide
Blackarrow builds optimize ranged pressure, kiting and extraction safety at range.
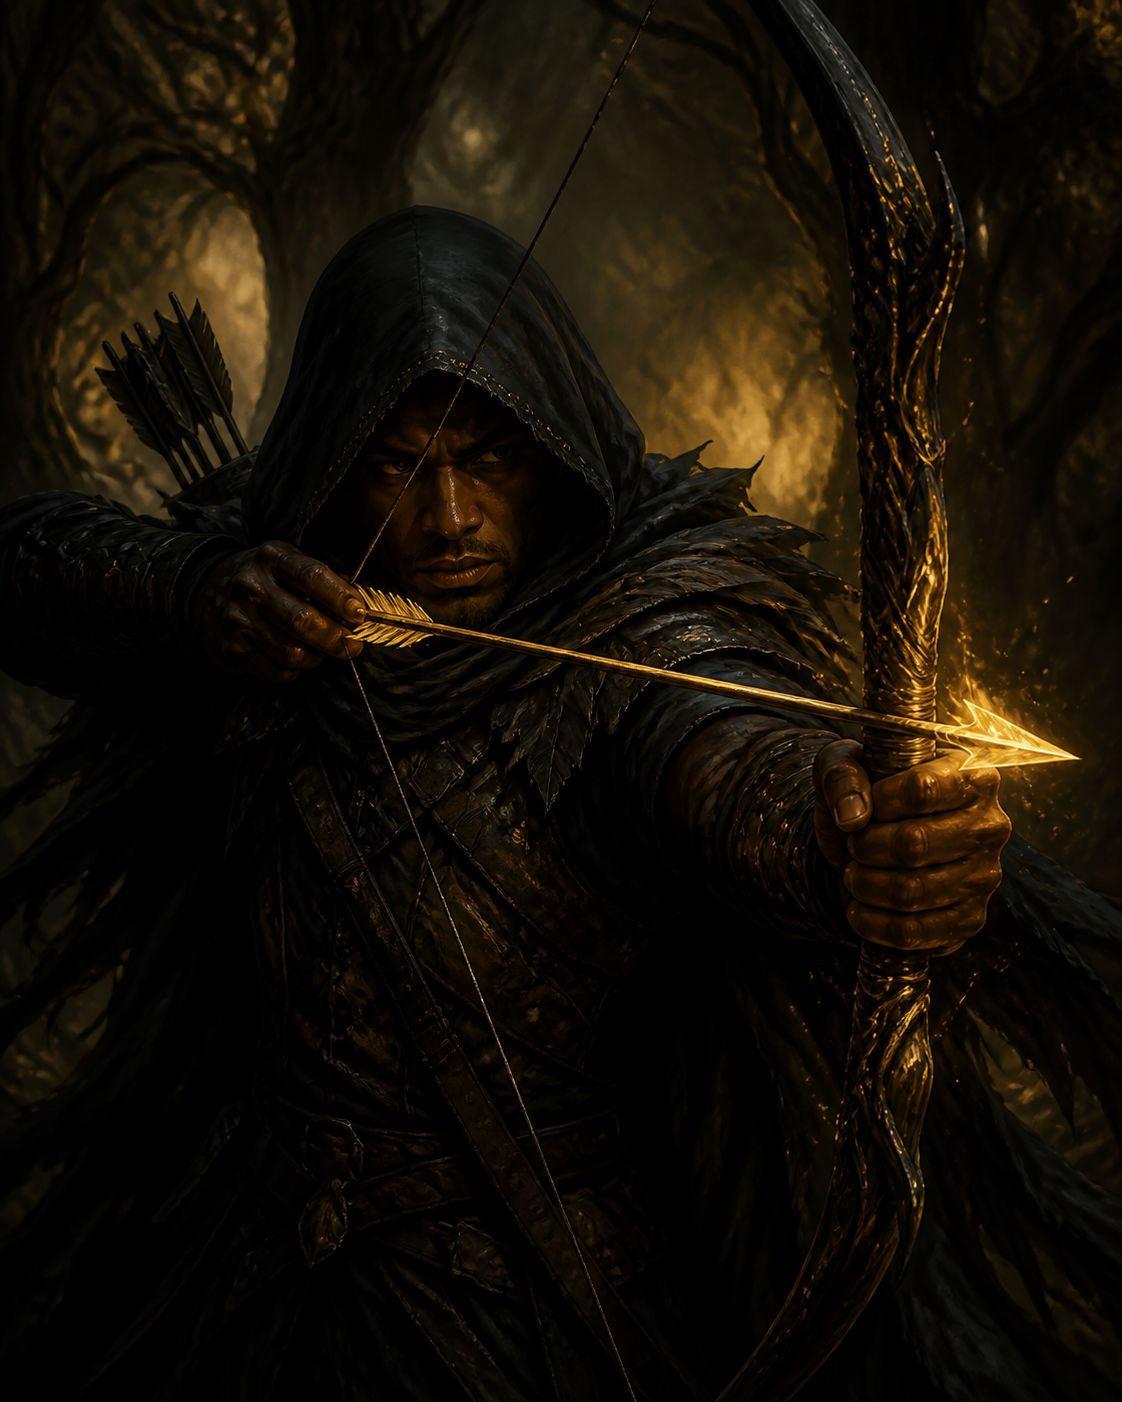
Build snapshot
Use the guide as a starting loadout
- Choose your class
- Set a stance priority
- Plan the extract
What a Blackarrow Build Needs to Do
A Blackarrow build is a kit designed around one promise: deal damage from a position the enemy cannot easily reach. The class already has the ranged identity in the seed data, so the build's job is to amplify that identity — more pressure at range, better escapes when the range collapses, and the tools that keep you shooting while the squad does the close work.
- Ranged pressure: the damage that controls sightlines
- Kiting: the movement toolkit that keeps distance
- Extraction safety: durability and escape gear
- All three pillars must be present
- Most failures are missing the kiting pillar
Read full tactical context
The three pillars are ranged pressure, kiting and extraction safety. Ranged pressure is the damage output that forces the enemy to respect your sightlines. Kiting is the movement toolkit that keeps the distance when a Mercenary or Shadowstrix tries to close. Extraction safety is the durability and escape gear that turns a bad position into a survivable one.
Every Blackarrow build that fails is missing at least one pillar, and the most common missing pillar is kiting. Players stack damage, get rushed, and wonder why the class feels fragile. The build is a system — all three pillars must be present for any of them to work.
The Precision Build: Maximum Ranged Output
The precision build is the classic Blackarrow: maximum ranged damage with the weapons and gems that reward accurate shooting. It takes the precision talents, the ranged weapons with the highest rolls and the damage gems, and it wins fights by out-damaging the enemy before they reach you. This is the build for players who hit their shots.
Read full tactical context
The trade-off is a thin defensive floor. The precision build needs the escape toolkit more than any other setup, because when the enemy closes the gap there is no durability to fall back on. Check the Loot Finder for the precision weapons and the escape pieces, and read the acquisition paths before spending gold.
In fights, the precision Blackarrow plays the pressure game: hold the angle, punish the approach, and only reposition when the position becomes dangerous. The stance swap fits this rhythm — Assault for the pressure, Guard for the kiting retreat. The Dual Weapon Stances guide covers the swap in detail.
| Slot | Priority | Why |
|---|---|---|
| Weapon | Highest | Ranged damage controls the sightline |
| Talents | Precision branch | Rewards accurate shooting |
| Gems | Damage + escape mix | Pressure plus the exit |
| Armor | Thin floor | Survive one rush, not many |
The Kiting Build: Survive the Rush
The kiting build trades some damage for the movement and utility that keeps the gap open. It takes the mobility talents, the movement-friendly gear and the gems that reduce the cost of repositioning, and it wins fights by never letting the enemy reach you. This is the build for players who want the Blackarrow to feel untouchable.
Read full tactical context
The kiting build is also the better Solo option. In Solo play, there is no frontline to hold the enemy back, so the kiting toolkit is the difference between extracting and getting caught. The Solo Tier List reflects this — a Blackarrow that can kite extracts more reliably alone.
The trade-off is a lower damage ceiling: you will not one-clip a target the way the precision build can. But the kiting build is also less punished by a bad position, because the movement tools turn mistakes into recoveries. For players who value consistency over damage numbers, this is the direction.
| Slot | Priority | Why |
|---|---|---|
| Talents | Mobility branch | Keep the gap open |
| Gems | Movement + sustain | Reposition without dying |
| Weapon | Secondary | Consistency over ceiling |
| Armor | Medium floor | Survive the rush |
Reading the Tier Lists With This Build
The Blackarrow's tier position changes with mode, and so should the build. The Solo Tier List rewards the kiting build because reliable extracts come from staying unreachable; the Trio Tier List can reward the precision build because a protected Blackarrow behind a frontline farms the enemy squad. Read the tier list for the mode you queue, then choose the branch.
- Solo tier: kiting build extracts more reliably
- Trio tier: precision build farms behind a frontline
- Beginner tier: survivability beats ceiling while learning
- Re-check after patches and trust-label dates
Read full tactical context
The Beginner Tier List is an honesty check for new players. If you are still learning the class, the kiting build's forgiveness beats the precision build's ceiling — survivability keeps you in the fight while you learn the angles. Players who jump straight to the precision build often die before they learn anything.
The meta shifts with patches, and the trust labels with Last Verified dates tell you how fresh the ranking is. Re-check the tier lists after updates and re-run the Class Quiz if your playstyle has changed.
Starter Blackarrow Build vs Meta Build
The starter Blackarrow build is the kiting branch with common drops and cheap crafts. It is enough to learn the class, extract consistently and build the positioning habits the Blackarrow demands. The goal is survival, and the kiting branch achieves it without the auction house.
- Starter: kiting branch, common drops, cheap crafts
- Meta: precision branch, rarer drops, full escape package
- Transition gradually — slot by slot
- A half-meta build is worse than a full starter build
Read full tactical context
The meta build is the precision branch with rarer drops and the full escape package. It costs more gold, and the transition should be gradual: farm the starter kit, run efficient gold routes, then buy the rare pieces one slot at a time. The Gold Farming and Auction House guides cover the funding.
The most common mistake is going broke on a half-meta build. A partial precision build without the kiting pieces is worse than a full starter build. Upgrade slot by slot and keep the loadout coherent at every stage.
Blackarrow Build Common Mistakes
The number one mistake is building pure damage with no kiting tools. The Blackarrow's fragility at close range makes the movement toolkit mandatory, and skipping it turns every rush into a death. The Loot Finder can locate the kiting pieces cheaply — check the acquisition paths before you buy.
- No kiting tools: every rush becomes a death
- Standing still on one angle
- One-stance builds waste half the class
- Skipping the Loot Finder before buying
Read full tactical context
The second mistake is standing still on one angle. A Blackarrow that plants itself becomes free damage the moment the enemy finds it. The build should support constant repositioning — between shots, after kills, and when the angle turns bad.
The third mistake is ignoring the stance swap. A build that only supports one stance wastes half the class. The Dual Weapon Stances guide covers the swap, and the build should support both stances even if you favor one.
Blackarrow Builds in Squad Context
In a Trio, the Blackarrow build should match the squad's frontline. A Mercenary frontline creates space for the precision build to farm; a Withered Knight frontline creates the long fight where the kiting build's consistency shines. The Squad Comp Builder shows the role coverage before you commit.
- Trio + Mercenary: precision build farms the space
- Trio + Withered Knight: kiting build matches long fights
- Duo: build depends on the partner class
- Re-check the build whenever the comp changes
Read full tactical context
In Duo, the build depends on the partner. With a Seer partner, the precision build gets the sustain support it needs; with a Shadowstrix partner, the kiting build lets the flanker do the closing while you farm from range. The Duo Guide covers the comps, and the class quiz plus the build guide give a coherent starting point.
Re-check the build when the comp changes. A build that fit last week's squad may not fit this week's. Keep the Build Planner draft updated and adjust the gems and talents around the fights you actually take.
Blackarrow Weapon and Gem Shopping Guide
Shopping for a Blackarrow is about matching the branch, not chasing the biggest number. Before you open the auction house, open the Loot Finder and search the specific ranged weapons, armor and gems from your Build Planner draft. Many pieces drop from chests or sit on NPC vendors at prices far below the auction market.
- Search the Loot Finder before opening the auction house
- Decide the branch first, then shop the weapon
- Gems must support the cycle you actually play
- Compare in the Items Database before spending
Read full tactical context
The weapon slot is the heart of the Blackarrow build. The precision branch wants the roll that amplifies the damage ceiling; the kiting branch wants the roll that keeps the pressure flowing while you move. Decide the branch first, then shop, and do not let a flashy auction listing talk you into the wrong branch's weapon.
Gems are where Blackarrow builds win or lose the budget. The precision build needs the damage gems plus the escape pieces; the kiting build needs the movement gems plus a sustain mix. In both cases the rule is the same: buy the gems that support the cycle you actually play. The Items Database lets you compare before you spend.
| Purchase Step | Check This First | Common Mistake |
|---|---|---|
| Weapon | Loot Finder acquisition paths | Buying the wrong branch's weapon |
| Gems | Damage vs movement mix | All damage, no kiting |
| Armor | Thin floor for the branch | Overpaying for durability the build never uses |
| Talents | Build Planner branch | Mixing precision and kiting |
Blackarrow Build Progression Roadmap
Phase one: run the starter kiting build until the class basics are automatic. Use the Extraction Checklist every run, focus on positioning and repositioning, and learn the pressure cycle in PvE and light PvP.
Read full tactical context
Phase two: prototype the precision branch in the Build Planner and test it in Duo runs. This is when the stance-swap rhythm clicks — Assault for pressure, Guard for the kiting retreat.
Phase three: optimize for your comp. Use the Squad Comp Builder to see what the squad needs, then tune the build around the role. The Blackarrow is a ranged machine; the build decides whether it is a sniper or a skirmisher.
Phase four: fund the meta build gradually with the Gold Farming and Auction House guides, upgrading slot by slot. By the end, you have a build that controls sightlines, survives the rush and extracts with the loot.
Blackarrow Practice Routine for Consistency
Consistency is the Blackarrow's real weapon, and consistency comes from deliberate practice rather than more matches. A simple routine is worth ten hours of unfocused play: spend the first few minutes of each session in a low-pressure area of Hallowgrove or Brandrgarde practicing the reload cadence, the stance swap timing, and the habit of relocating after every third shot. You are training the movements you will rely on when the fight is chaotic.
- Practice reload cadence, stance swap and relocation each session
- Run a scavenger route that forces a new position every shot
- Review one failed extract per session
- Most Blackarrow deaths are position deaths — fix the route
- Adjust the loadout in the Build Planner before the next run
Read full tactical context
Next, run a scavenger route with the explicit goal of never firing from the same position twice. This forces the repositioning habit in a low-risk setting, and it also teaches you the map's angles — where the enemy can see you, where they cannot, and which lanes punish a slow Blackarrow. The Interactive Map layers are a good reference for planning these practice routes ahead of time.
Finally, review one failed extract per session. Ask what the build could have done differently: was it the kiting tools, the damage window, or the position? Most Blackarrow deaths are position deaths, and the fix is usually a build tweak plus a route change, not a skill problem. Log the answer and adjust the loadout in the Build Planner before the next run.
Blackarrow Builds and the Extraction Checklist
The Extraction Checklist exists because the last thing a player thinks about after a long fight is the exit — and that is exactly when mistakes happen. For the Blackarrow, the checklist matters even more because the class is usually the one watching the escape lanes. Run the checklist before every drop: confirm the extraction route, confirm the exit is not contested, and confirm the loadout has the escape pieces that make a bad position survivable.
- Run the checklist before every drop, not just on hard runs
- Confirm the extraction route is not contested
- Re-check the cooldown state before the countdown ends
- The checklist is the final control surface for a control class
Read full tactical context
The pre-extract confirmation is also the moment to re-check the build's cooldown state. A Blackarrow that drops in with the key tools on cooldown is a Blackarrow that starts the run at half strength. Build the habit of checking the cycle before the countdown ends, and swap the loadout if the run's objective demands a different branch.
Over time, the checklist becomes automatic and the Blackarrow stops losing runs to careless prep. The class is built around control — control of sightlines, control of pressure, control of the exit. The checklist is the final control surface, and players who use it extract at a noticeably higher rate than players who skip it.
Frequently asked questions
What is the best Blackarrow build?
This page does not confirm a current route-specific answer for “What is the best Blackarrow build?”. Check the game or current official update notes before relying on a specific detail.
Where do I get Blackarrow gear?
Use the Loot Finder for ranged weapons and precision gems; source links show boss, chest and vendor paths.
Is Blackarrow good for solo extraction?
Yes — its range and escape make it a top solo pick. Pair the build with the Solo Survival Guide for routes and discipline.